The Electronic In and Out Board
![]()
Manual
![]()
![]()
![]()
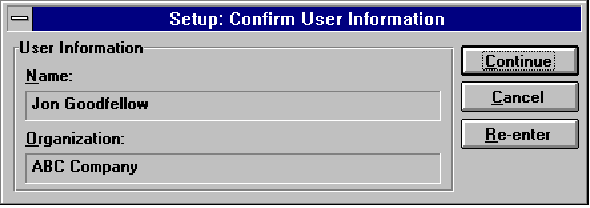
The computer will confirm your registration information with a window similar to the one below. If the information is correct, click on the Continue button. If you need to edit the information, click on the Re-enter button.
Your disks have now been registered and initialized and you are ready to continue setup. In a window similar to the one below you will be given the choice of which drive you would like the Server program installed to. The drive and directory where you choose to install the Server program should be accessible to all users of Touch N' Go. The default drive and directory presented will be c:/tng. If you are not choosing this default drive and directory you can click on the ‘...’ button to browse your other available drive and directory options. The directory does not have to have been previously created.
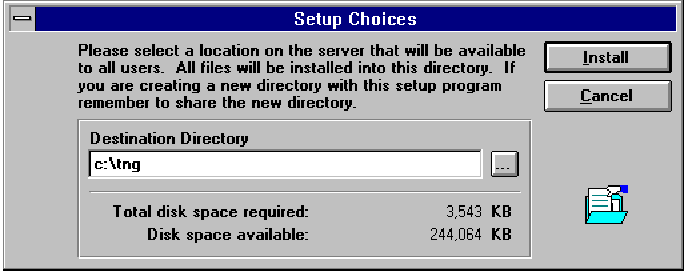
When you have chosen your drive and directory, and they are reflected in the text box provided, click on the Install button or press Enter to continue.
Setup will progress until the computer finishes reading the first disk, and asks for the second disk. A window like the one below will appear. When you have placed the second of the two Server Disks into the disk drive, click on the OK button or type Enter to continue.

![]()
 |
Table of Contents | Touch N' Go | Order Form | 30 day free demo | ||||
|---|---|---|---|---|---|---|---|---|
| Next | Guest Book | Tips & Tricks |
Copyright 1995
last modified 10/4/95
All rights reserved
Touch N' Go Systems, Inc.